



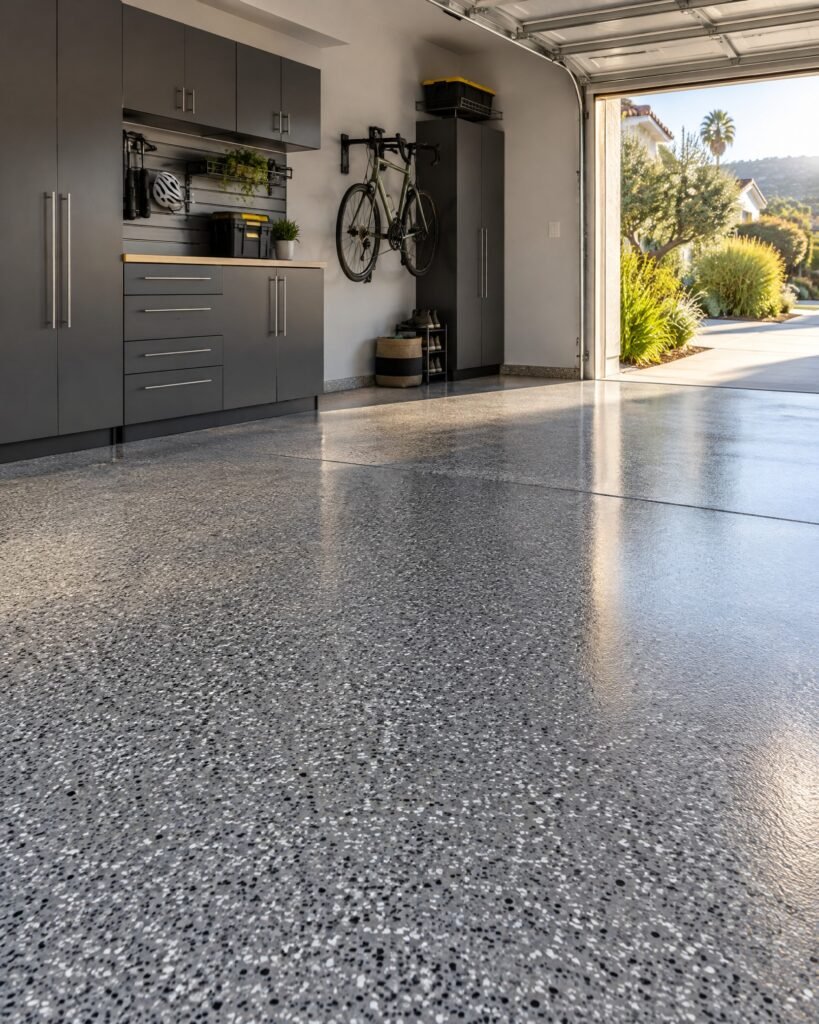
Bare concrete is the most-used surface in most homes and the least finished. A coating system changes that in a single day, but it’s worth knowing what actually happens during that day before you schedule one.
Morning: prep is most of the work
The floor is ground and profiled to remove existing coatings, oil stains, and surface contamination so the new coating has something to properly bond to. This step matters more than any other — a coating is only as good as the surface underneath it, and skipping or rushing prep is the most common reason DIY kits fail within a year or two.
Midday: the base and color layers go down
Once the surface is prepped, the base coat is applied, followed by any decorative color flakes or chips you’ve chosen. This is where the finish actually takes shape — solid color, flake blends, and metallic effects are all applied at this stage.
Afternoon: the top coat seals everything in
A clear top coat goes over the color layer to protect it from tire marks, chemicals, hot tires, and everyday abrasion. This layer is what makes the floor easy to clean and resistant to the wear a garage floor actually takes.
What “one-day” really means
The installation itself typically happens in a single day, but the coating needs time to cure before it’s ready for foot traffic and, separately, before it’s ready for vehicles. Exact cure and return-to-use windows vary by the specific system used and local conditions, so it’s worth confirming the timeline for your project directly.
Is it right for your space?
Garage floors are the most common project, but the same approach works for patios, pool decks, and basements — anywhere worn or stained concrete is holding a space back. FloorTek evaluates the existing concrete and recommends a system suited to how the space is actually used, with the specific timeline and finish options confirmed for your project.